Every landscape photographer eventually learns the same lesson: the light matters more than the location. Two windows do most of the heavy lifting — the warm, raking glow of golden hour and the cool, even calm of blue hour. They are not interchangeable, and treating them as one long stretch of "good light" is why so many evenings end with a card full of frames that look almost right. Here is what each window actually gives you, what it costs you, and how to decide which one deserves your time.
What Is Actually Happening in the Sky
Sunlight travels through the atmosphere at an angle. When the sun is high, light passes through a relatively thin slice of air and arrives close to white. When it sits low, that light has to cut through far more atmosphere, and the shorter blue wavelengths get scattered away before they reach your lens. What is left is the orange and red end of the spectrum. That is golden hour: roughly the period from when the sun is about ten degrees above the horizon until it touches it, plus the last glow just after sunset.
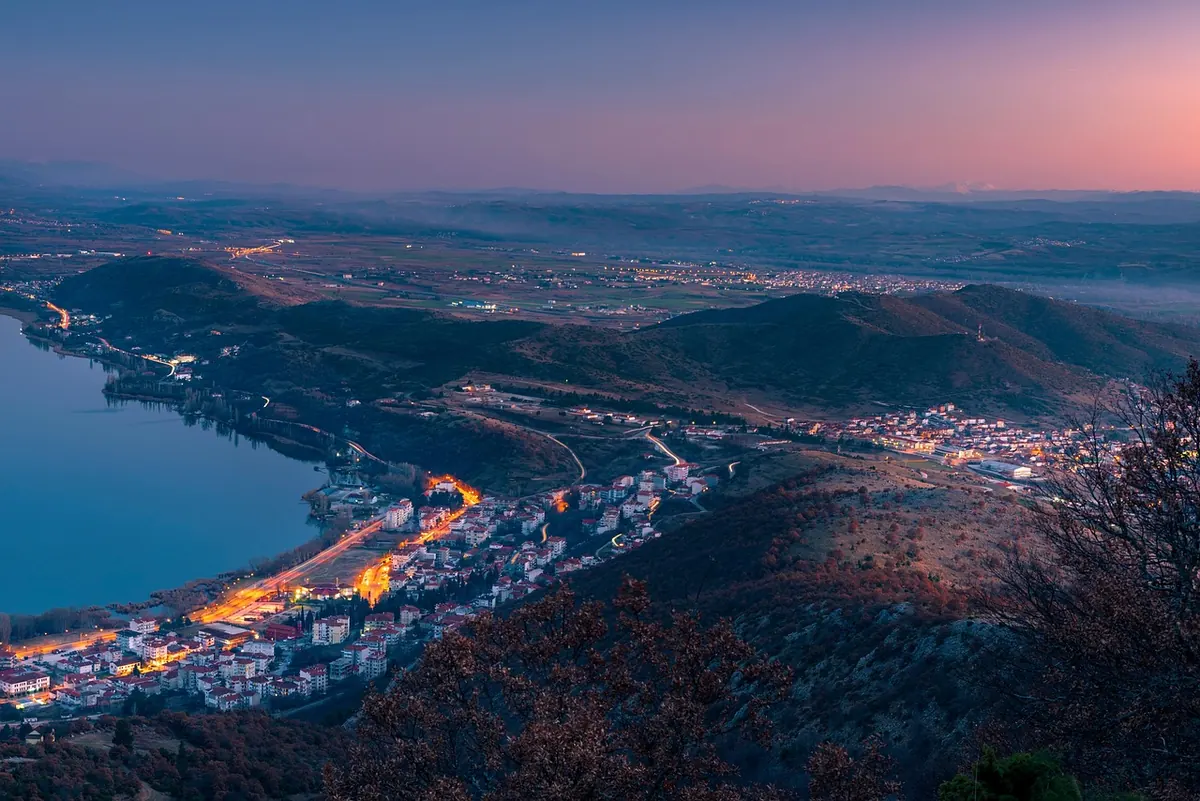
Once the sun drops below the horizon, the direct beam is gone. The scene is now lit by scattered sky light, and that light is overwhelmingly blue. Blue hour sits inside civil twilight — the sun between the horizon and about six degrees below it — and it fades into deeper twilight within twenty to forty minutes at mid-latitudes. The exact length depends on your latitude and the season: near the equator the sun plunges, so both windows are short. Further north or south, the sun approaches the horizon at a shallower angle and everything stretches out.
Golden Hour: Warm Light, Hard Highlights
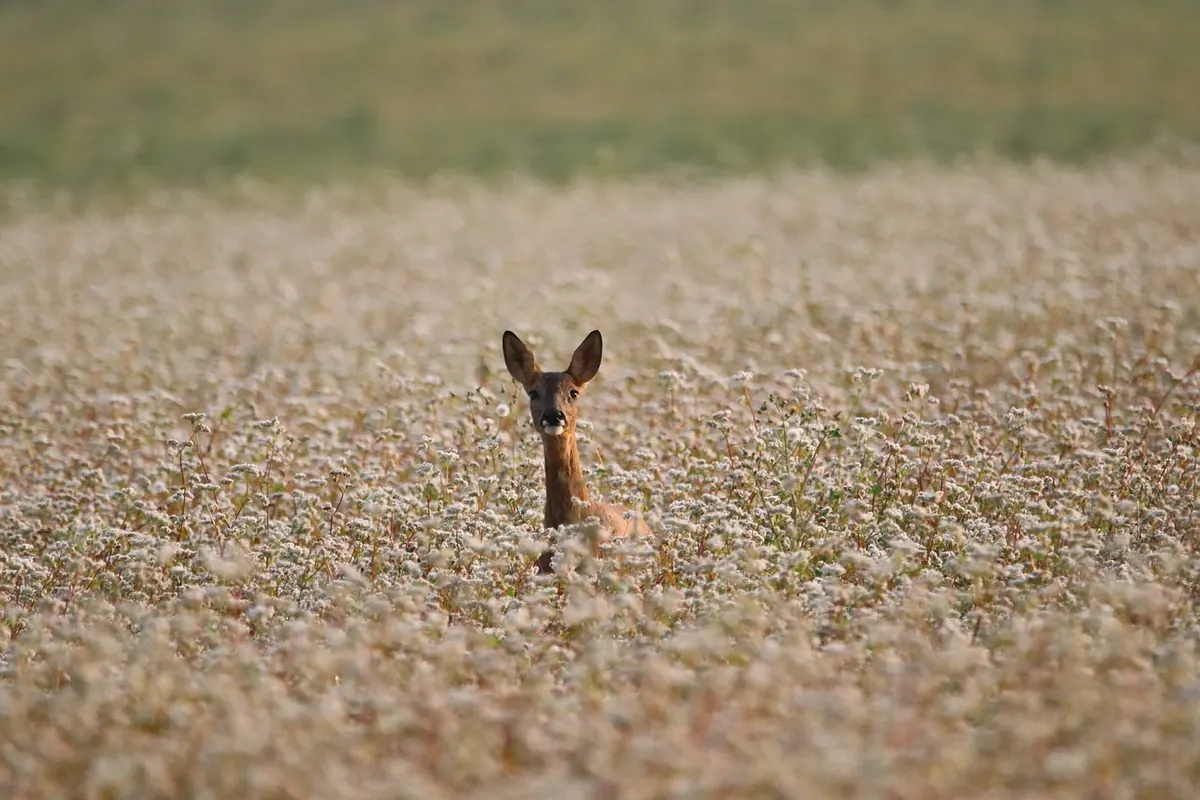
Golden hour is the forgiving one, which is why beginners fall in love with it. The sun is low and behind or beside you, contrast on the landscape drops, and long shadows give flat ground a sense of depth. You can often handhold. Autofocus works. Colours in foliage, rock and sand look richer because the warm light reinforces them.
The catch is dynamic range. Point your camera toward the sun and the sky will be several stops brighter than the land. Either you protect the sky and get a muddy foreground, or you open up and blow the glow to white. Solutions are unglamorous but reliable: shoot raw, watch the highlight clipping warning, and bracket three frames when the sky is doing something dramatic. A graduated ND filter still works well for a flat horizon like the sea. A polarizer can deepen a blue sky, though on a wide lens it will darken one side of the frame unevenly — rotate and check before you commit.
Blue Hour: Even Light, Narrow Margins
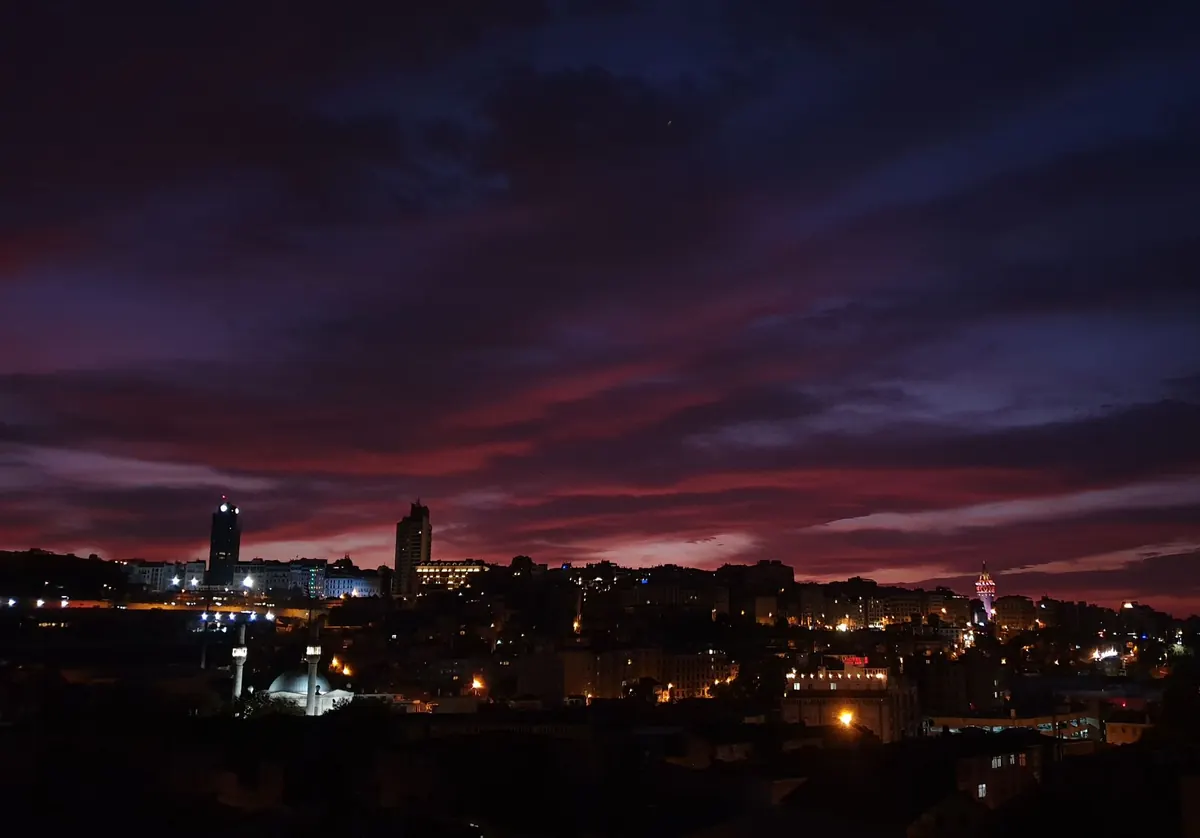
Blue hour gives you what golden hour cannot: soft, directionless light with no harsh shadows, and a natural balance between sky and artificial lights. Cityscapes, harbours and street scenes come alive because the sky still holds colour while windows and lamps switch on. Seascapes benefit too — a thirty-second exposure turns water into glass without the risk of a blown sun.
What it costs you is time and stability. Light levels fall fast, so a tripod is effectively mandatory. Focus becomes guesswork once contrast drops; the practical fix is to autofocus during golden hour, then switch the lens to manual and tape the ring so it does not drift. Arrive early, find your composition in daylight, and stay put.
Exposure Settings That Work
Start from these and adjust to the histogram rather than the numbers:
- Golden hour, front-lit: ISO 100, f/8–f/11, whatever shutter speed the meter suggests. Check the blinkies for clipped highlights.
- Golden hour, backlit: expose for the brightest part of the sky, then lift shadows in editing — or bracket and blend.
- Blue hour, base settings: ISO 100, f/8, tripod, remote or two-second delay. Let the shutter go long; two to thirty seconds is normal.
- Blue hour, city lights: expose so the brightest lamps sit just below clipping. Give the frame a little more light than the meter wants — a slightly bright blue hour image is easier to correct than a dark one.
- Both windows: shoot raw, enable long exposure noise reduction for blue hour frames, and turn off stabilisation when the camera is on a tripod.
One habit pays off everywhere: look at the histogram after the first frame and then stop looking at the screen. Chimping every shot during a twenty-minute window is how people miss the best light of the evening.
White Balance: Where Most Edits Go Wrong
Auto white balance is trying to make the scene neutral, which is exactly what you do not want here. At golden hour it will pull warmth out of the image and leave you with something flat and slightly grey. Set daylight around 5500K and leave it, or nudge it a touch cooler if the orange is getting syrupy in camera.
Blue hour is the opposite problem. If you leave the camera on daylight, the scene is beautifully blue — that is the look most people want. If you set tungsten around 3200K, you neutralise the sky and let warm street lights dominate, which suits urban scenes but kills the mood in a pure landscape. Since you are shooting raw, the in-camera setting is only a preview. Decide in the edit, and resist the urge to fully correct the blue cast; the colour is the point.
So Which One Should You Shoot?
Choose by subject rather than by preference.
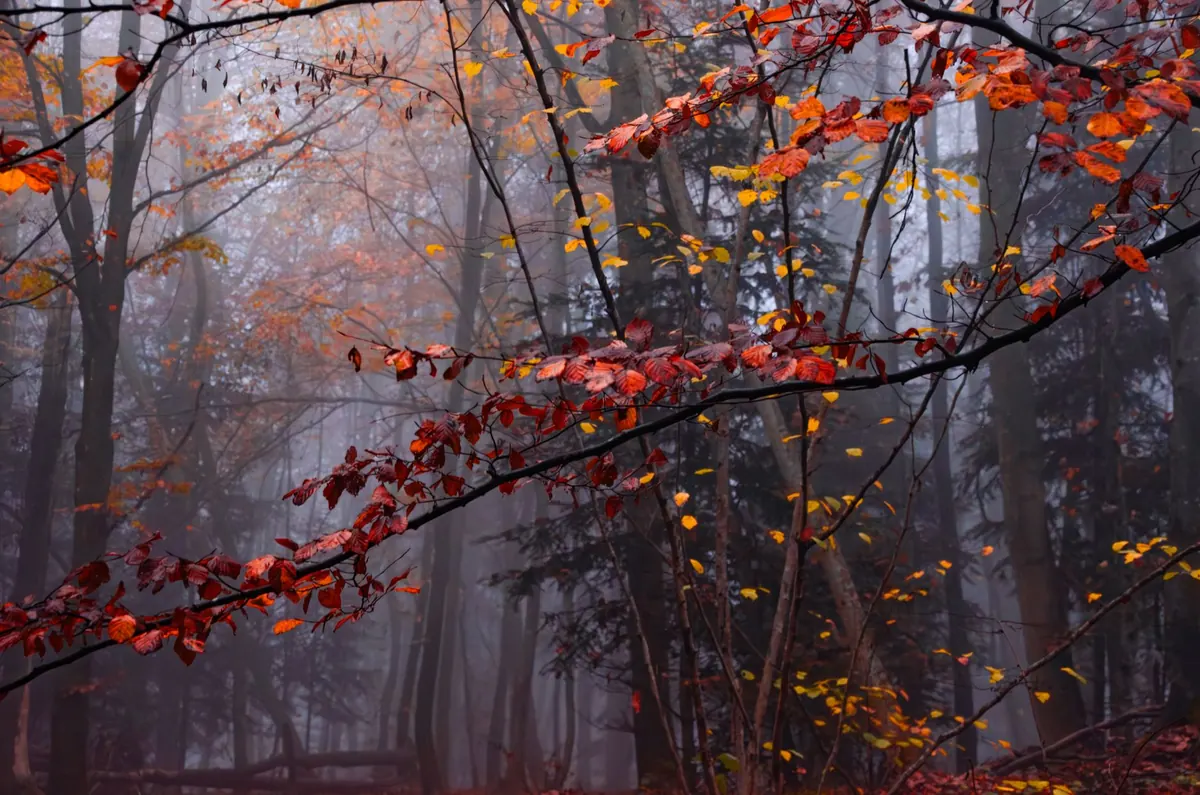
If the frame depends on texture — rock, sand, grass, autumn leaves — you want raking golden light. If the frame depends on atmosphere and man-made light — a skyline, a pier, a wet street — you want blue hour.
Golden hour handles wide vistas, backlit grasses, dust and mist, and anything where long shadows add structure. Blue hour handles water long exposures, city vistas, fairgrounds, lighthouses and anything where the sky needs to balance with a light source below it. And if you have a subject that works in both, do not choose. Plan a location where you can shoot the warm light and then walk twenty metres to a second composition for the cool one.
A Practical Plan for a Two-Hour Shoot
Arrive at least forty-five minutes before sunset with the tripod already set. Scout two compositions: one facing the light for the warm frames, one facing away or toward a lit subject for later. Shoot golden hour first, then keep working as the colour drains — the ten minutes just after sunset are frequently better than the ten before. When the sky settles into deep blue, switch to long exposures and give it another twenty-five minutes.
Check the forecast for cloud cover and haze before you go: a broken layer of cloud catches colour that a clear sky never will, and haze intensifies the warmth at low sun angles. Then put the camera away while you can still feel your fingers, and review the frames at home with the white balance slider in front of you. That is where the real choice between warm and cool finally gets made.
Photo: z f / Pexels