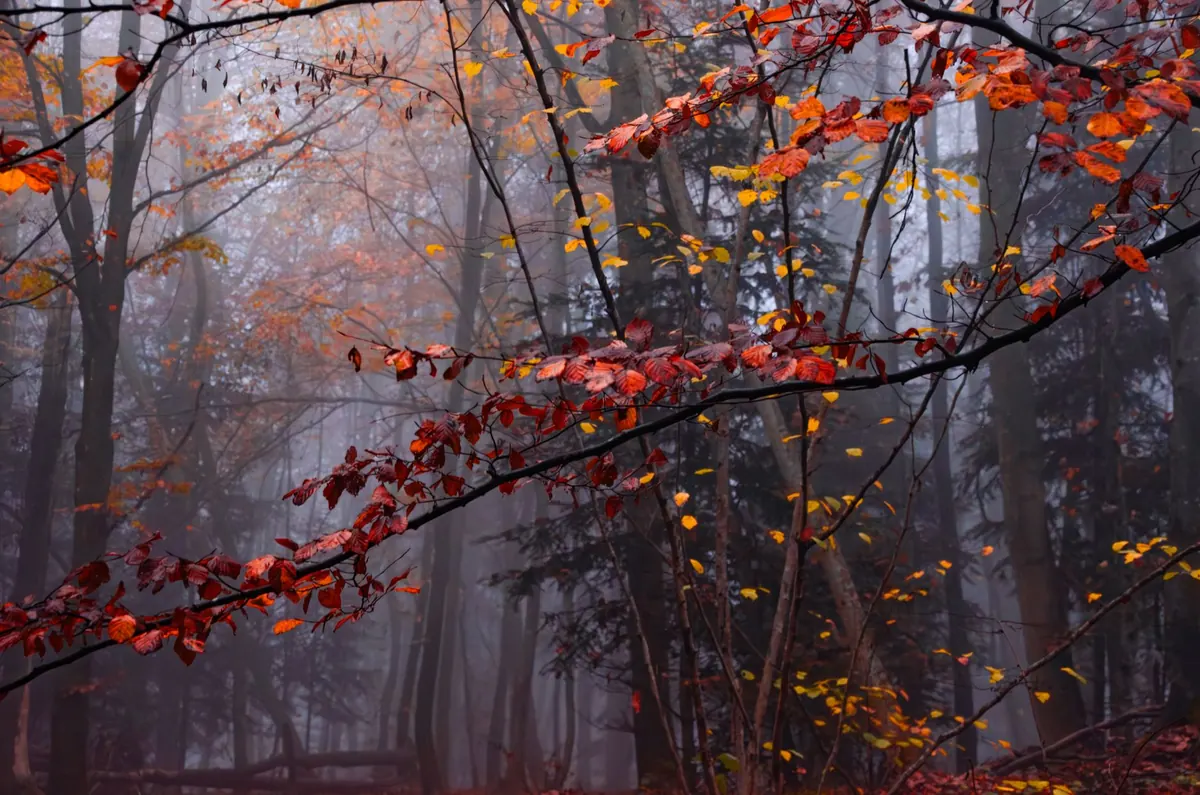
Autumn arrives in the woods before it arrives anywhere else. One morning the bracken is still green; a week later the beeches are dropping copper leaves onto a path gone soft with rain, and the forest has become a stack of overlapping planes — trunk, branch, mist, leaf — that a camera can either sort out or smear into mush. That sorting is most of the work. Colour is the easy part in October. Depth and light are what separate a photograph from a record of pretty trees.
Why the woods reward patience more than peak colour
Peak colour is a moving target and a short one. Beech and ash turn and drop within days; larch holds longer; the maples in a town park are bare before the oaks at the field edge have started. Chasing a peak weekend usually means arriving when everyone else does, in hard midday sun, with the best leaves already on the ground.
Better to choose conditions rather than dates. A still, damp, overcast morning two weeks either side of peak gives you more usable frames than a blue-sky Saturday in the middle of it. Wind is the quiet enemy: it shakes the tripod, blurs leaves during slow exposures and pulls fog apart in seconds.
Pick one small wood you can walk in an hour and return to it five or six times over the season. Knowing where a single oak stands against a slope, or which gap in the conifers lets the light through at eight in the morning, is worth more than a new location every weekend.
Flat light is your friend, if you give it structure
An overcast sky is a softbox several kilometres wide. Shadows disappear, wet bark and moss keep their colour, and the whole wood sits inside one even exposure — exactly what you want when the subject is texture and pattern. The catch is that flat light flattens everything else, too. Without a bright sky, a hot spot or a deep shadow to anchor it, a picture of a hundred trunks is just a picture of a hundred trunks.
So build contrast into the frame yourself. Put something dark against something light: a black trunk against pale mist, a bright fern against a shadowed bank. Give the eye a foreground subject within two or three metres of the lens, then let the rest recede. And exclude the sky unless you want it — a sliver of white along the top edge does nothing but pull attention away from the leaves.
Rain helps. Wet foliage is darker, richer and more reflective than dry foliage, and the sheen on a beech trunk reads as three-dimensional in a way a dry one never does. Go out during the drizzle, not only after it.
Shooting into fog: exposure, contrast and depth
Fog is the most useful tool in woodland photography because it draws depth for you. Each layer of trees sits further back and lighter than the one in front, and that recession — aerial perspective — is what makes a flat frame feel like a place. It also hides the clutter that ruins most forest pictures.
The recipe is simple: moisture in the air, a cool, clear, still night, and a morning with little wind. Valleys, lake edges and the first hour after sunrise are where it collects. It is also brief. Work out the composition before the light arrives, because the twenty minutes when the mist thins and starts to glow are usually the best of the day.
Exposure is where most foggy frames go wrong. The meter sees a bright, low-contrast scene and pulls it down towards mid-grey, so the mist turns to dishwater. Add exposure compensation — start at +2/3 EV and check the histogram — until the fog sits high on the right without clipping. Keep detail in the trunks on the left side of the graph; mist tolerates bright highlights but not blown ones. Automatic white balance drifts as the fog moves, so set daylight around 5500K and leave it alone.
A starting point for misty mornings
- Base ISO, tripod, two-second timer or a remote release.
- Aperture around f/5.6–f/8 on full frame. Fog softens the background anyway, and the shorter shutter speed helps if a breeze picks up.
- Matrix metering, then +2/3 EV, then judge the histogram rather than the preview.
- Focus in live view, magnified, on the nearest strong silhouette. Autofocus hunts in low contrast.
- Bracket ±1 EV if the range is tight; pale mist with dark trunks can be awkward.
- Shoot the same composition every few minutes. Mist changes faster than you expect.
Composition: build the frame in layers
Woodland is chaos, and the camera cannot sort it the way your eye does. The eye edits; the sensor records. So decide, before you press the shutter, what the picture is about: one tree, a path, a colour, a shape. Then remove everything that is not that.
Work in three planes. A foreground within a couple of metres — fallen leaves, a mossy log, a fern, a puddle holding the canopy — gives the frame a floor. The middle plane holds the subject: a trunk, a group of trunks, a turn in the path. The background is fog, dense foliage or a slope in shade, and its job is to stay quiet. If it is busy, move two steps and shoot through a gap instead.
Small habits help. Get low, at knee height, and leaf litter becomes a landscape. Shoot vertical frames for trunks; the format suits them. Look for edges — the boundary between wood and field, or the last row of trees before a clearing — because that is where light gets in. Use a path as a way into the frame, not as the subject itself.
Focal length, briefly
- 16–24mm: exaggerates a near foreground, good for a leaf-covered log or a low puddle reflection. Everything beyond ten metres turns small.
- 35–50mm: close to how the wood feels as you walk through it; good for paths and single trunks.
- 70–200mm: the fog lens. It compresses rows of trunks into layered bands and isolates branch shapes against pale air.
Settings, colour and small habits
Most woodland frames live between f/5.6 and f/11. Wider and the foreground leaves go soft; much narrower and diffraction steals the fine detail that makes
Photo: Adrian Limani / Pexels