Golden hour rewards preparation more than luck. The light does change fast, but it changes in a predictable order, and once you know that order you stop reacting and start deciding.
Most disappointing golden-hour frames come from the same three mistakes: arriving too late, standing in the wrong place, or packing up the moment the sun dips below the horizon. None of these are gear problems. They are reading problems.
Golden Hour Is Longer and Stranger Than the Name Suggests
The name implies sixty minutes of warm light. What you actually get depends on where you are and what month it is. Near the equator the sun drops almost vertically and the good light can be over in twenty-five minutes. At higher latitudes in summer, the sun approaches the horizon at a shallow angle and the warmth stretches for an hour or more — long enough to shoot two nearby locations in one evening. In winter, a low sun may never climb high at all, and the entire afternoon behaves like an extended golden hour.
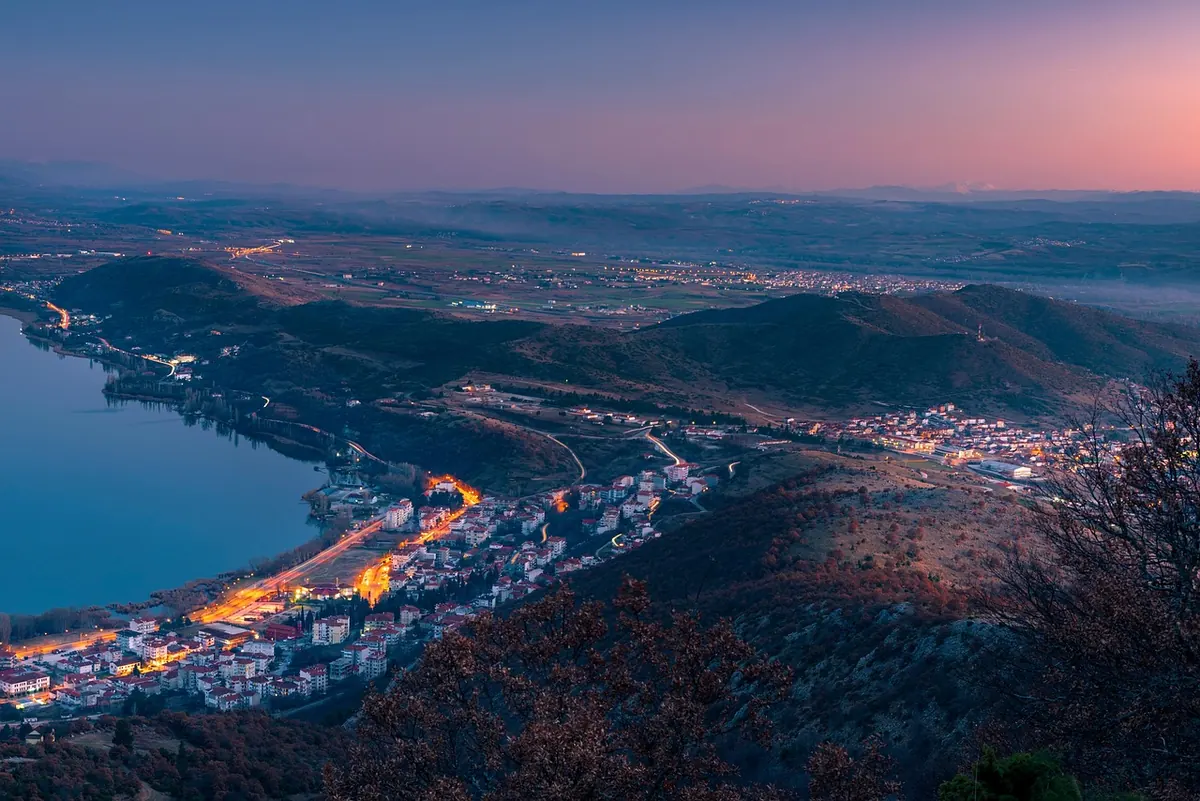
It also arrives in two halves, and the second one is routinely ignored. Before sunset you get direct, warm, directional light with strong modelling. After the sun disappears you get the afterglow: soft, even, pastel light that opens up shadows and keeps colour in the sky for another fifteen to thirty minutes. Some subjects only work in one half. Backlit grasses and rim-lit leaves need the sun in or just outside the frame. Wide valleys, lakes and misty fields often look better five minutes after the sun has gone.
Scout the Day Before — Read the Geometry, Not Just the View
A location that looks promising at noon can be a trap at sunset. Go back the previous evening at the hour you intend to shoot, even without a camera, and answer five questions:
- Where does the sun actually set? Use a sun-position app or a compass and fix the sunset azimuth against a landmark — the gap between two hills, the far bank of a lake, the end of a street. "Somewhere over there" is how you end up with the sun behind a ridge.
- What blocks the light early? Tree lines, cliffs and buildings cut the sun well before official sunset. A deep valley can lose direct light forty minutes early while the ridge above it stays lit for another half hour.
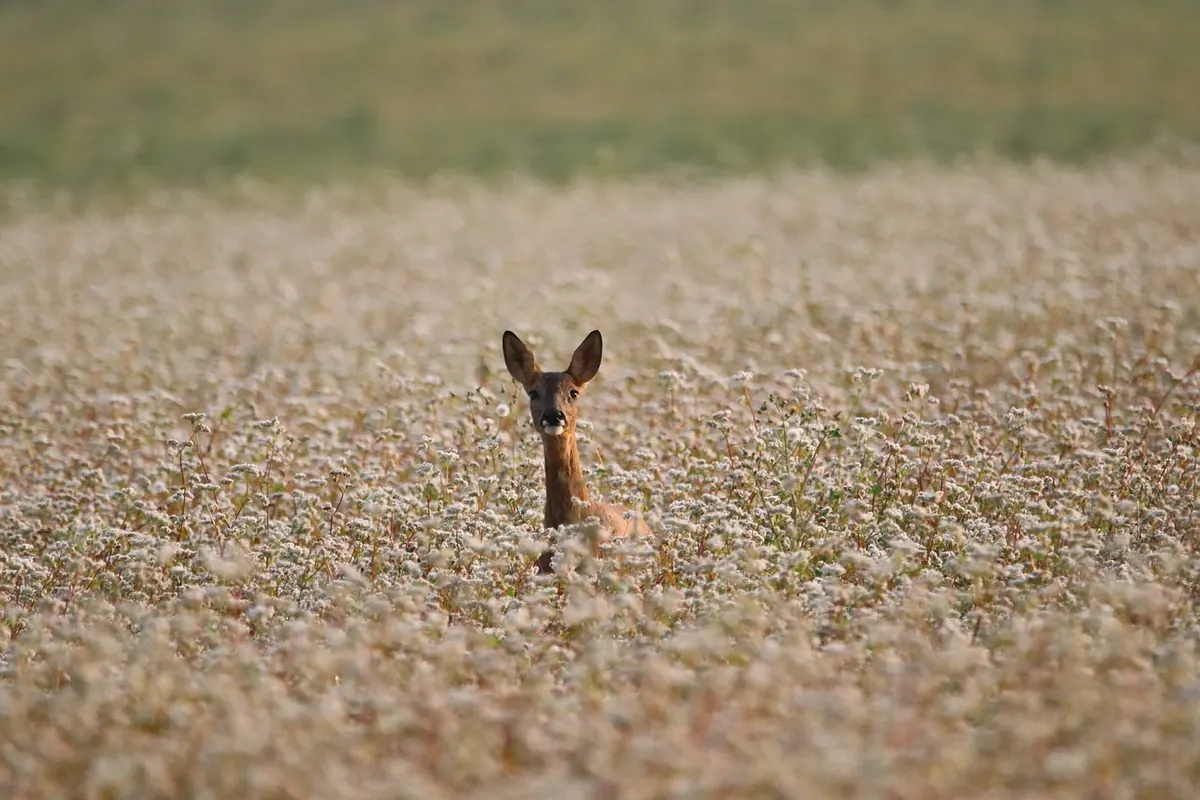
- Where are the edges? Golden hour is mostly an edge-light event. Look for grass heads, leaves, water ripples, rock rims and fur on animals — anything that will catch a low beam and glow when the sun is behind it.
- Where will the shadow line fall? Predict it and decide whether you want to be inside the shadow, on the lit side, or right on the boundary where the contrast is strongest.
- What is your second position? Plan an alternative a two-minute walk away, in case the sky fails on one side and works on the other.
The Four Stages of a Sunset, and What to Shoot in Each
1. Late afternoon, roughly 90 to 45 minutes before sunset
The sun is still relatively high. Contrast is manageable and colours are only slightly warm, which makes this the best window for textures, rock detail, forest interiors and anything that needs even light. Shadows are short, so compositions read cleanly. Use this time to finalise your framing and focus rather than to chase drama.
2. First contact, about 40 to 20 minutes out
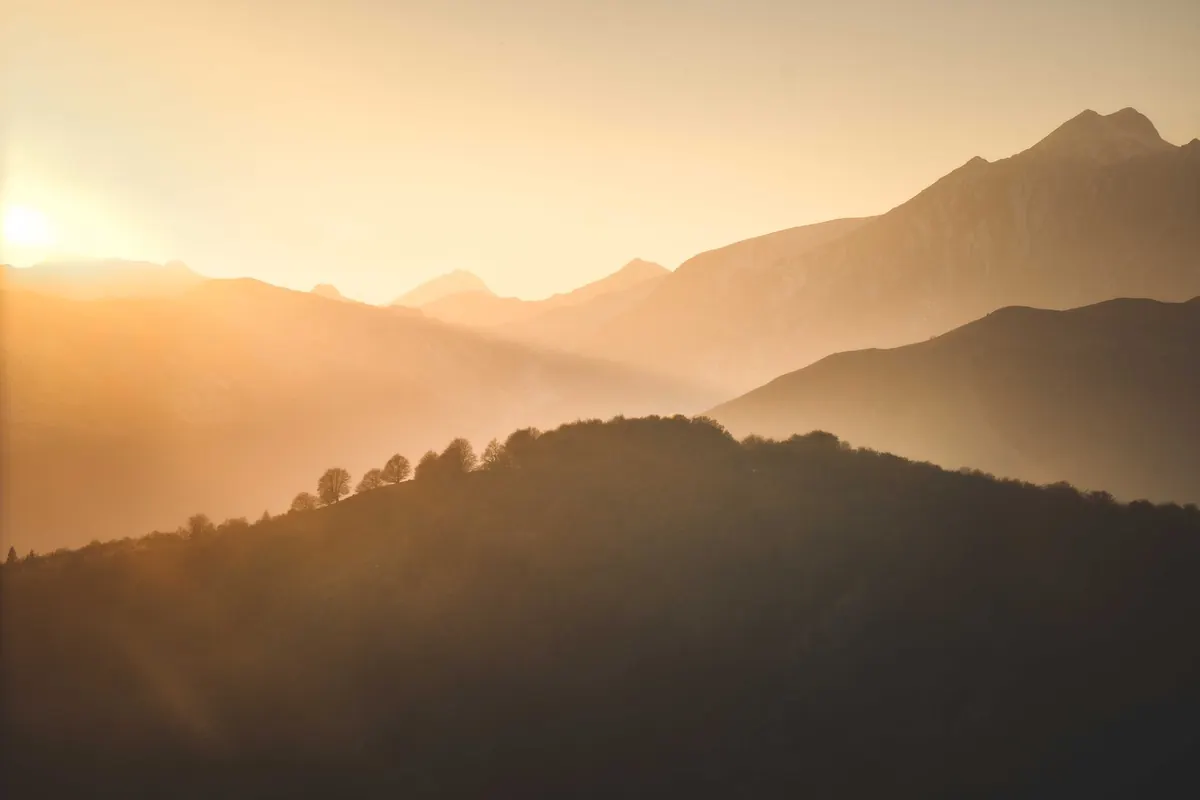
Warmth arrives properly. Shadows stretch and side light begins to model ridges and dunes. This is when the landscape as a whole looks best — not yet contrasty, but no longer neutral. Colour in the sky starts to build. Shoot wide, then look for medium telephoto compressions of overlapping ridges.
3. The low sweep, the last 20 minutes
The sun is close to the horizon and moving fast across your frame. Light becomes intensely warm, contrast spikes and backlight dominates. Expect flare, blocked shadows and blown highlights on water or wet rock. This is the stage people plan for and the one that passes quickest; decide in advance what your one or two key frames are, and shoot them.
4. Afterglow, 5 to 30 minutes after sunset
Direct light is gone and the sky becomes the light source. Contrast drops, shadows fill, and pastel colour spreads overhead. Reflections become viable because the water and the sky now match in brightness. Exposures lengthen quickly — a scene at ISO 100 and f/11 may run several seconds — so a tripod earns its place here rather than earlier.
Decide your compositions in stage two. Spend stage three shooting. Nobody ever regretted having the tripod already set.
Exposure: Meter for the Light You Want to Keep
Expose for the highlights, then decide what you are willing to lose. Switch on the highlight warning and check the histogram after the first frame of each stage rather than after every frame. Small clipped specular highlights on water or wet stone are fine and often unavoidable; a blown sky with no colour left is not.
In backlight, meter for the brightest area where you still want texture — a lit ridge line, a sunlit cloud edge — and let the shadows go dark. You can lift them in editing far more convincingly than you can recover a white sky.
Watch the rate of change. Light falls away slowly for the first half hour and then very quickly in the last ten minutes; a setting that was perfect two frames ago can be a stop under by the time you release the shutter. Check exposure every few frames once the sun touches the horizon, and again in the first minutes of afterglow.
Keep the rest of your settings stable so the sequence stays consistent. Fix white balance at daylight rather than leaving it on auto, shoot raw, and avoid auto ISO drifting between frames. Use apertures around f/8 to f/11 for depth without diffraction, and keep the shutter fast enough for moving foliage — wind is the most common reason golden-hour frames look soft.
Read the Air, Not Only the Sky
What sits between you and the sun matters as much as the sun itself. A little haze, dust or humidity scatters warm light and makes colour visible across long distances; too much flattens contrast and washes out the horizon. Thin high cloud is generous — it holds colour long after the sun has gone. Thick low cloud usually ends the evening early, though a narrow gap near the horizon can produce a sudden burst of light worth waiting for. If water is in your composition, check the wind: ripples break reflections, and calm builds quickly in the last minutes before sunset.
A Field Routine Worth Copying
- Note the sunset time and azimuth in the morning; arrive ninety minutes early.
- Walk the site once with the camera down, checking edges, foregrounds and obstacles.
- Set up the tripod and commit to your main composition before the light turns.
- Shoot the whole sequence: wide, then detail, then back to wide as the sky develops.
- Stay for at least twenty minutes after sunset, and keep checking the opposite horizon from the sun.
Practise Close to Home
You do not need an iconic location to learn this. Pick a local field, park or stretch of river and shoot it at sunset four or five times in a month. Same place, different light, and the patterns become obvious: how early the ridge casts its shadow, how the colour builds, how fast the exposure slides away in the final minutes. By the time you stand somewhere extraordinary, the reading will already be automatic.
Photo: Francesco Ungaro / Pexels